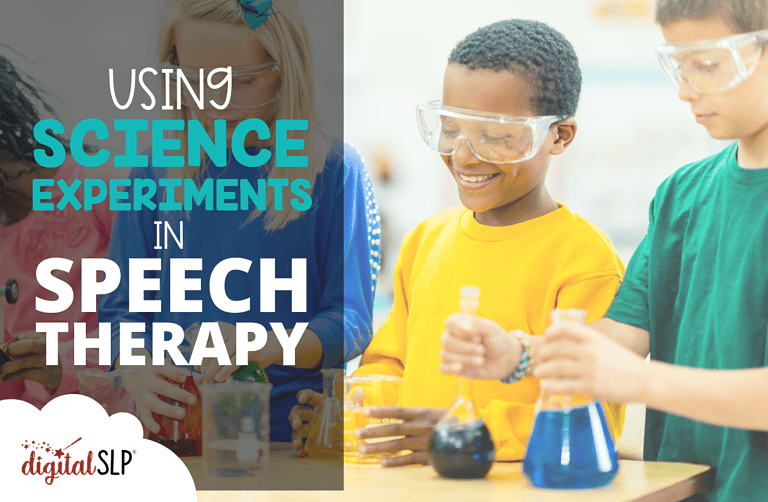
It’s always thrilling to find an engaging, relevant therapy activity that aligns with the curriculum and works for almost any student, and today I’m excited to share one of my favorites.
What is this magical activity? Science experiments!
Science experiments can be used to address every intervention area, from articulation to fluency, in a meaningful context. They are also a great connection point for reluctant speech students, and they might even reinvigorate your SLP practice.
In this blog post, I’ll address common concerns and challenges that can come up when you consider doing science experiments with your caseload. I’ll also talk about the logistics of getting started, as well as how to use science experiments to address specific goal areas, and we’ll close with a resource list of experiments to try.
Addressing Concerns
When I first considered including science experiments in my speech therapy sessions, I almost talked myself out of it before I started.
I was worried that they would be time-consuming, expensive, and well, disastrous.
Thankfully, my fears were unfounded. I gave science experiments a try, and I’m so glad I did!
Let’s talk about each of these concerns:
1) Will this be super time-consuming?
I’ll be honest: it will be at first, but ultimately you’ll end up saving time. There’s definitely a time investment at the beginning of the process as you choose an appropriate experiment, gather supplies, and teach students a new routine. However, a single experiment can provide at least three weeks of therapy ideas, so the up-front time investment will pay many dividends.
2) Will this be super expensive?
No! There are so many experiment possibilities that use incredibly simple materials, like pennies, string, toothpicks, water, salt, etc. Depending on the experiments you choose, you probably already have almost everything you need.
3) Will this be super disastrous?
As we all know, students are unpredictable and full of surprises, so a catastrophe is always possible. However, even if things go wrong, there’s still an opportunity for learning (of course, safety is the most important thing here—be sure to choose no-risk experiments!). You can also minimize the possibility of disaster by doing each step of the experiment on your own before trying it with students. Finally, use what you know about your caseload to guide your experiment selection. If your students are not able to sustain attention, choose an experiment with only a few steps. If your students self-regulate with movement, choose an active experiment that can be done outside.
Logistics to Consider When Using Science Experiments in Speech Therapy
When getting started with science experiments in speech therapy, one of the first steps is choosing which experiment(s) to do with your students.
This will be a personal decision based on your setting and caseload, so I’ll just offer a few guiding questions to consider:
- What are my students interested in? We need to ensure we are addressing goals, but whenever we’re able to include student preferences in our activity selections, their engagement is likely to increase.
- What connections do I have at my setting? Do you wish the PTA knew what you do? Reach out and see if they can secure some donations to support your new endeavor! Are you interested in building relationships with other professionals in your setting? Send out an email and check on some science collaboration possibilities!
- How old are my clients/students? Many of us work with a variety of age ranges, so it can be helpful to select two experiments; eg., a simpler option for K–2 students and a more challenging investigation for students in grades 3–5. Even if the experiments differ in difficulty, you could choose two that have similar themes and materials, to keep planning as streamlined as possible.
- How can I maximize the natural benefits of my current setting? Do you have a sink in your room? Could you reserve a kitchen space? Is there a nearby patch of ground where your students could do some experiments with plants? The more you’re able to work with what’s already in place, the more options you’ll have.
If you’ve thought through these questions and inspiration still hasn’t struck, check out the Next Generation Science Standards—these provide some general guidelines for science instruction in each grade.
Once you’ve chosen an experiment, it’s time to build your routine! Since experiments can involve some extra work, I like to try to squeeze every possible drop of learning from them. In the week or two prior to the experiment itself, you can:
- Teach students about the scientific method
- Read, discuss, and answer questions about informational texts related to the upcoming experiment
- Read, discuss, and answer questions about biographies of relevant scientists
- Set norms and expectations to support safety
- Discuss cause and effect
- Make predictions and inferences about the experiment’s outcome
- Develop different student roles for experiments—e.g., materials manager, cheerleader, note taker, discussion guide, problem-solver, etc.
Next up is the actual experiment! To make life as easy as possible, it’s ideal to choose an experiment that can be completed in a single therapy session. If you have some groups that you see twice in one week, you can use the second session to get started on post-experiment activities.
Two quick tips to try during the experiment itself:
- Take pictures when appropriate! These can be helpful to spur post-experiment discussion with students, and they can also be a helpful visual record for you.
- Go easy on yourself in terms of taking student data during the actual experiment! You’ll be busy facilitating, so focus on taking data during your pre-experiment and post-experiment activities instead.
Once the experiment is finished, you can probably anticipate spending 1–4 sessions on post-experiment activities, depending on the ages of your students and the complexity of the experiment.
Skills to Target When Using Science Experiments in Speech Therapy
Post-experiment activities in particular are a wonderful opportunity to target a variety of goal areas. These include:
- Sequencing: Students can talk (and draw or write!) about what they did in each step of the experiment.
- Describing: Students can talk (and draw or write!) about the sights, sounds, and smells of the experiment.
- Compare/contrast: Students can revisit any predictions they made prior to the experiment and contrast them with the actual outcome.
- Retell/personal narrative: Students can share about their individual role in the experiment: what they did, how they felt, etc.
- Discussion: Students can talk with each other about the experiment results and why things turned out the way they did.
- Extension: There are many rich possibilities for additional learning. Students could create a display to show staff and students what they did, petition school leadership to hold a science fair, or conduct additional research about interests sparked by the experiment process.
Experiment Ideas
By now, I hope you’re excited to start researching experiments, so here’s a list of possibilities to get the ideas flowing:
- Bacteriopolis: This experiment is ideal for late elementary students and older—it has the potential to get messy. It’s also unique in that students could continue to observe and describe it for a year or longer (if you have the storage space)!
- Condiment Diver: This exploration of buoyancy is great for any age, is quick and easy, and uses the simplest materials imaginable.
- Static Straws: This is an accessible option that uses everyday materials and is sure to elicit some giggles.
- Flying Tinsel: Ideal around the holidays, this experiment requires gathering several materials, but the wow factor is worth it!
- Melting Ice and Rising Seas: This thought-provoking experiment is probably best for middle school and high school students. It could easily fit into a larger unit about climate change, arctic animals, and/or glaciers.
- Penny Battery: Here’s an experiment for patient students who have extra energy—it requires sanding the copper off pennies, which is not a quick endeavor! It also requires a voltmeter, which probably isn’t something you have in your speech room, but which costs under $15 to order online.
- Hidden Colors: This option is perfect if you’re looking for an easy, inexpensive experiment. You might actually have everything you need within reach right now: paper towels, scissors, a black marker, water, and a cup.
- Bubble Tray: Learning about the science of giant bubbles is engaging for almost any student, from kindergarten to 12th grade. The necessary materials are minimal, although you might want to do this one outside if possible.
- Boyle-ing Water. This simple but stunning experiment requires a clear plastic syringe, so here’s a pro tip: your friendly local pharmacist will probably be glad to give you one, especially if you explain why you need it!
- Ice Balloons: Here’s another possibility that works for almost any age group, and is especially great to target describing. You’ll need to have access to a freezer for a few days, so it does involve some advance planning.
Above all, be kind to yourself if you give science experiments a try with your students. Like any new challenge, they might feel overwhelming at first, but you’ve got this!
Want to stay in the loop for new speech therapy ideas and inspirations? I have put together a free Digital SLP podcast to share insight and tips on implementing your speech therapy sessions. If you are looking for fun and interactive speech therapy materials that students and SLPs both will love, check out what the Digital SLP® membership site has to offer, or sign up for our free trial now. Alternatively, check out our TpT store.


Recent Comments